INSTALLING MATPLOTLIB
In this tutorial, we will learn about installing matplotlib on different operating systems like windows and mac os, we will also have a brief look at how to work with matplotlib in jupyter notebook.
In order to start working with matplotlib, we need to make sure it’s installed first on our system. There are various ways to install matplotlib depending on the software you are working with. Let’s have a look at how to start working with matplotlib on different systems:

Installing Matplotlib on Windows
You can install matplotlib with pip on windows with the following statement:
pip install matplotlib
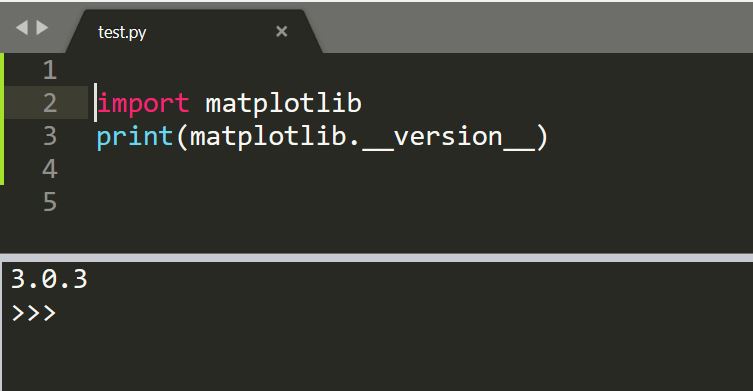
If you are using matplotlib on a code editor like Sublime Text, you can verify the installation of matplotlib:

Installing Matplotlib on Mac OS
You can install matplotlib with pip on macos with the following statement:
pip install matplotlib
Matplotlib with Jupyter
If you are working with juypter notebook, then you can simply import matplotlib in it because it comes pre-installed with the jupyter notebook. The import statement looks like this:

Matplotlib in Anaconda
You can use the anaconda distribution as well for installing matplotlib as you don’t have to manually install matplotlib with Anaconda since is it already featured inside the distribution.

Anaconda supports a number of libraries inside Python since it’s a world’s popular data science platform.

Verifying the Installation
Once Matplotlib is installed on your system, you can verify the installation through checking the import option in jupyter or your current code editor by simple entering:
import matplotlib.pyplot as plt


