Splunk Installation: Splunk Tutorial
In this tutorial, we will learn about how to do Splunk Installation on our operating system and work with the Enterprise version for about 60 days.
Splunk Installation
Let’s learn about installing Splunk Enterprise software on our machine. Splunk trial version of enterprise is valid for 60 days and it contains all the main features that we need, once the trial period is over, you have to renew to pay the charges. We are using MAC OS so we will be doing our main installation on it, otherwise you can install it on other systems too like Windows, Linux etc.
STEP 1
Go to Splunk website below and click on the link below to choose the download for your specific operating system:
https://www.splunk.com/en_us/download/splunk-enterprise.html
STEP 2
Since we are using Splunk Enterprise and our operating system is Mac OS, so we have proceeded with the download of ‘.dmg’ file.

STEP 3
After you click on the download button, save the file in your preferred directory.

STEP 4
Wait for your browser to finish the download, it may take a few minutes to complete it.
STEP 5:
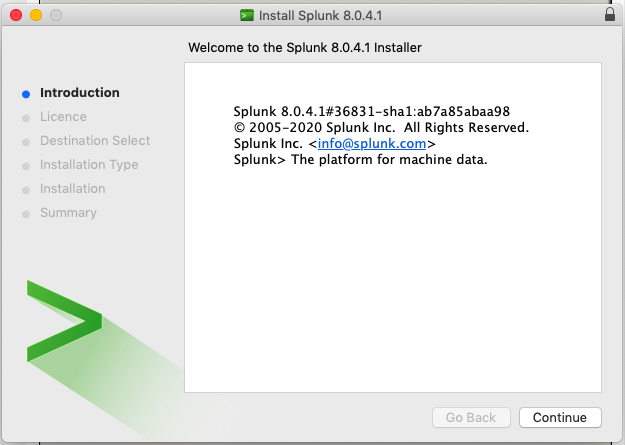
Once the download is finished, open the installation process of Splunk and start working with it on your system. Click on the ‘Install Splunk’ icon and begin the process.

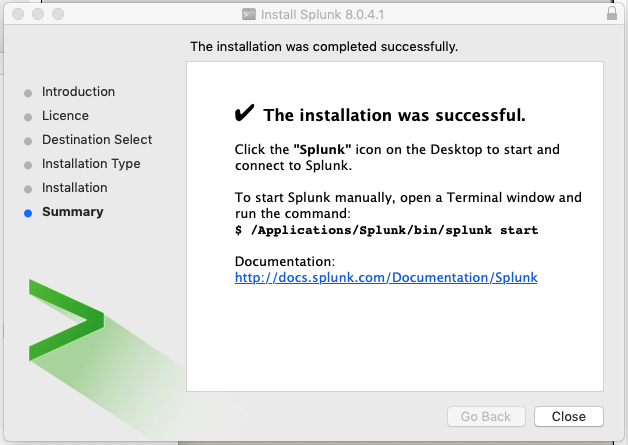
Go through all the steps of the installation

At last, when you are done with installing Splunk, run the following command on terminal (Mac OS):
/Applications/Splunk/bin/splunk start

Paste the command on your terminal and start Splunk manually:

Once the installation is over, you can manually start Splunk from your terminal and enter username and password (ASCII characters only) to go ahead:

Finally, you do that the terminal will provide a localhost address to start using Splunk, in our case the local host address is:
http://localhost:8000/en-GB/account/login
Go to your browser and paste this address there to login with Splunk Enterprise with the username and password that you decided:

Once you enter your credentials, you will see a dashboard appeared in front of you, that’s Splunk for you!


